Editor’s Note: This post is written by a member of LTV’s sponsored content team, The Leisure Explorers. Do you own a Leisure Travel Van and enjoy writing? Learn more about joining the team.
Maintaining Your RV’s Exterior
In part one, we reviewed things that new owners and others need to know to keep their Leisure Travel Van running smoothly. We promised a part two, covering essential maintenance, especially on the exterior, that owners periodically must, not may, but must do, to keep things on the outside running smoothly. Here are our strong suggestions.
Every six weeks or so, I repeat these simple maintenance items that many owners miss, don’t know they need to do, or never even think they need to, only to have issues with the areas I’m about to detail. Each of these takes only a few minutes, but they will save you hundreds by either prolonging the time they’ll need replacing or eliminating that altogether. We won’t get into various films and applications used on the paint.
If you think you don’t need to do what I’m about to strongly suggest, think again. You maintain your stick home. New paint or gutters, new windows, new roofing. All required, regular maintenance. Your LTV needs it too, and since it’s a house on wheels exposed to a lot more abuse than your static home, it needs a bit more here and there.
With that intro, here we go with our recommendations.
Spray, Spray, Spray Those Hinges, Seals
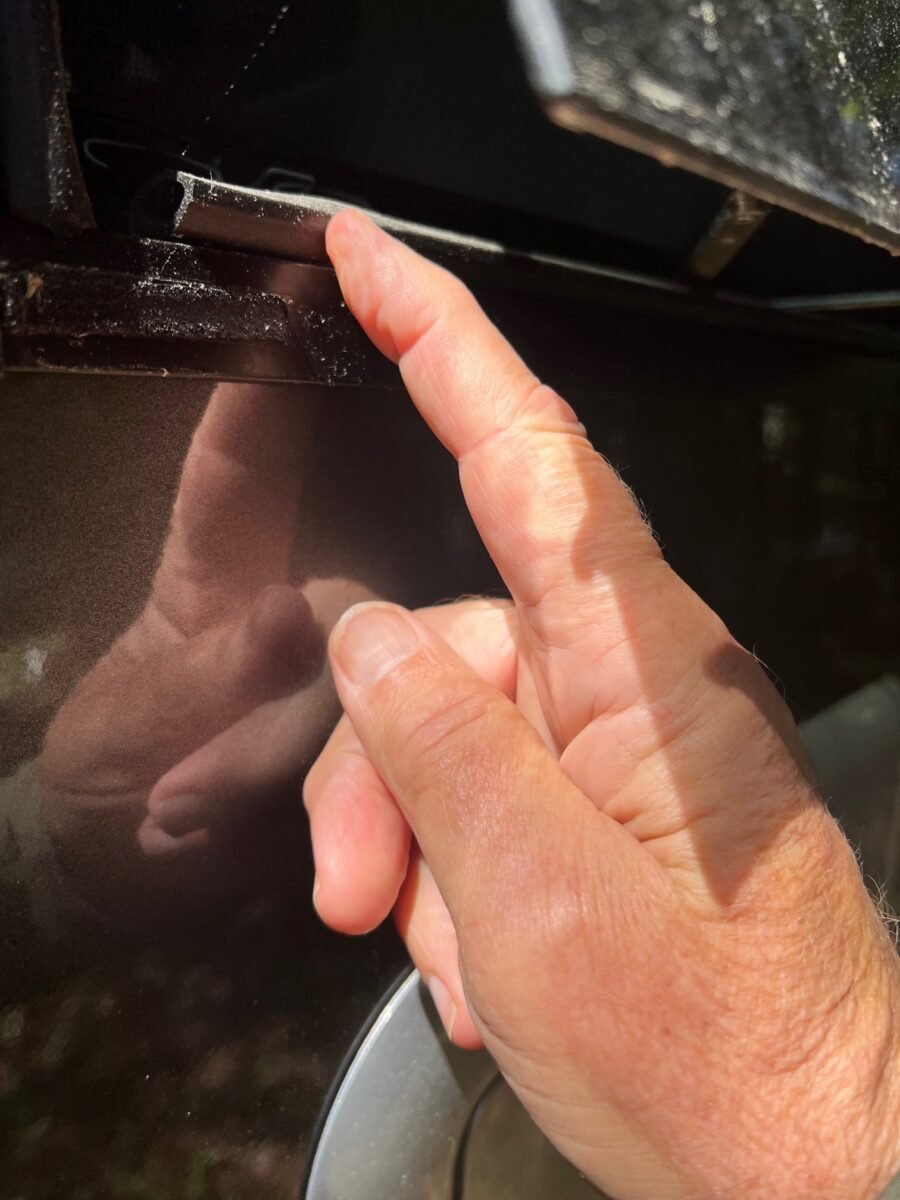
Keep those rubber hinges, any slide-out seals, or rubber gaskets limber and free of cracks. This applies to every piece of exterior rubber, including those seals under your louver windows, around doors, and especially around the exterior storage compartments, and especially those rubber compartment hinges. The products I mention are all available at Amazon. You may find them cheaper elsewhere.
The sun’s UV rays aren’t kind to rubber. If you do not keep them like new, they will crack, leak, and eventually fail in the case of those rubber compartment hinges. Even though we’re talking years here, why not delay that as long as possible? This especially applies to those visiting or living in high-altitude areas, deserts, or areas that get lots of sun. I’m talkin’ to you, Florida.
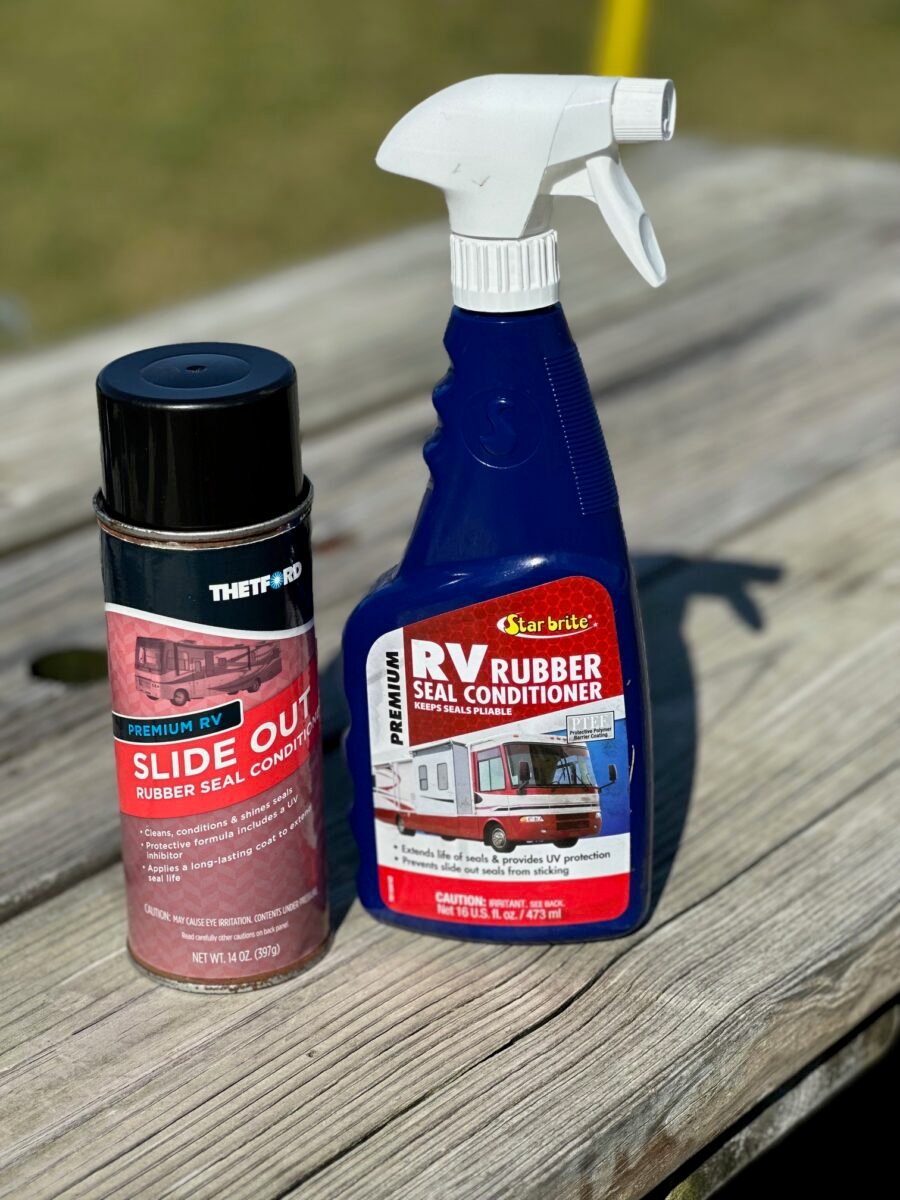
That’s why owners must treat those seals and hinges with products like Thetford’s Slide Out Seal Conditioner, 303 Protectant Seal, StarBrite, or a similar product every six weeks. I personally like Thetford. It goes on foamy and sinks into the rubber quickly with minimal drips.
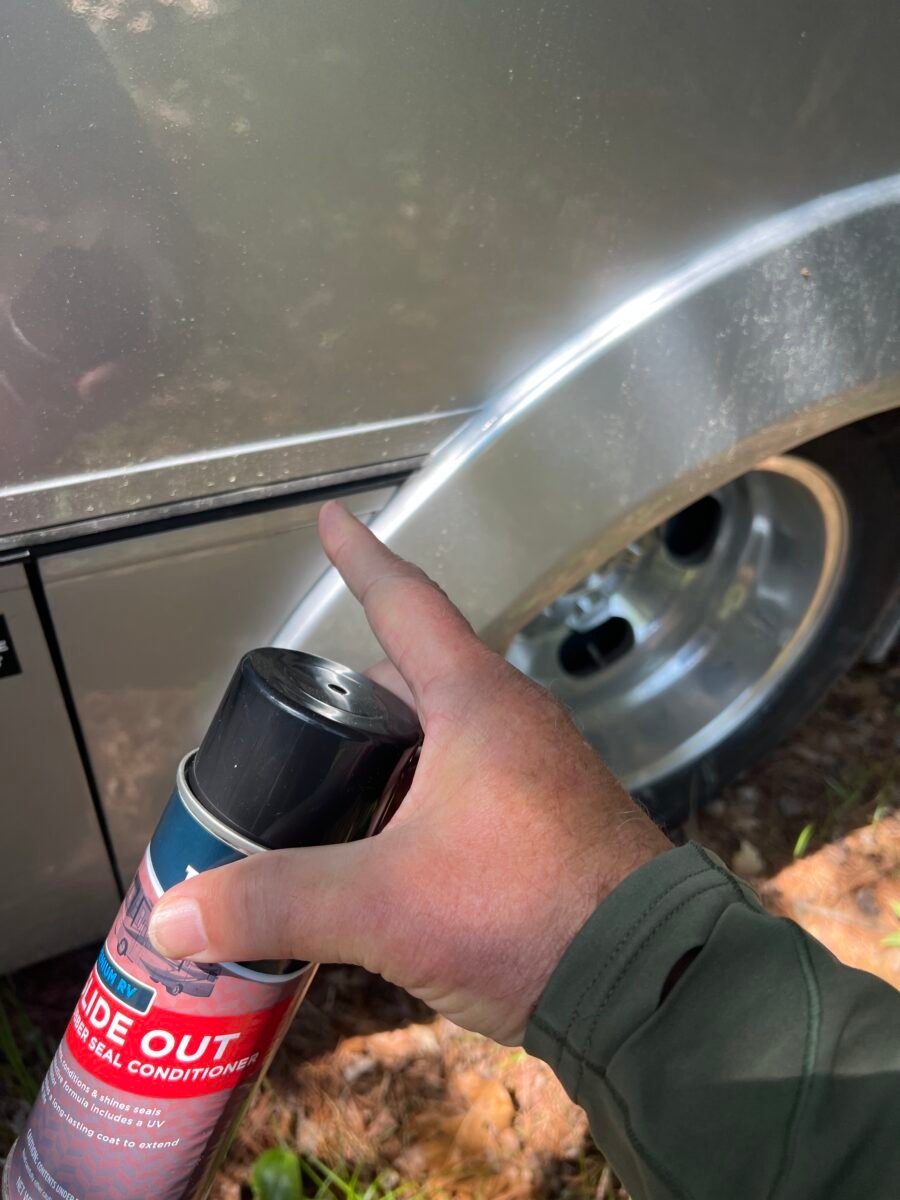
Spray all rubber hinges, including areas that do not support anything but are still part of the hinge system. If you don’t, these will become dry, brittle, and fail. Spray them down. They’ll look better, too.
Spray all compartment seals. Why? When we first bought our previous 2015.5 Unity Murphy Bed (we now have a 2023 Wonder Murphy Bed Lounge), I noticed the rear passenger side compartment leaked. I knew water would eventually mildew whatever we had stored there. Rather than replace that seal, I sprayed it with Thetford’s conditioner. The next rain, the seal worked–no leaks, and all seals on the other compartments never leaked again. Also, regularly treat seals around vertical or large storage compartments.
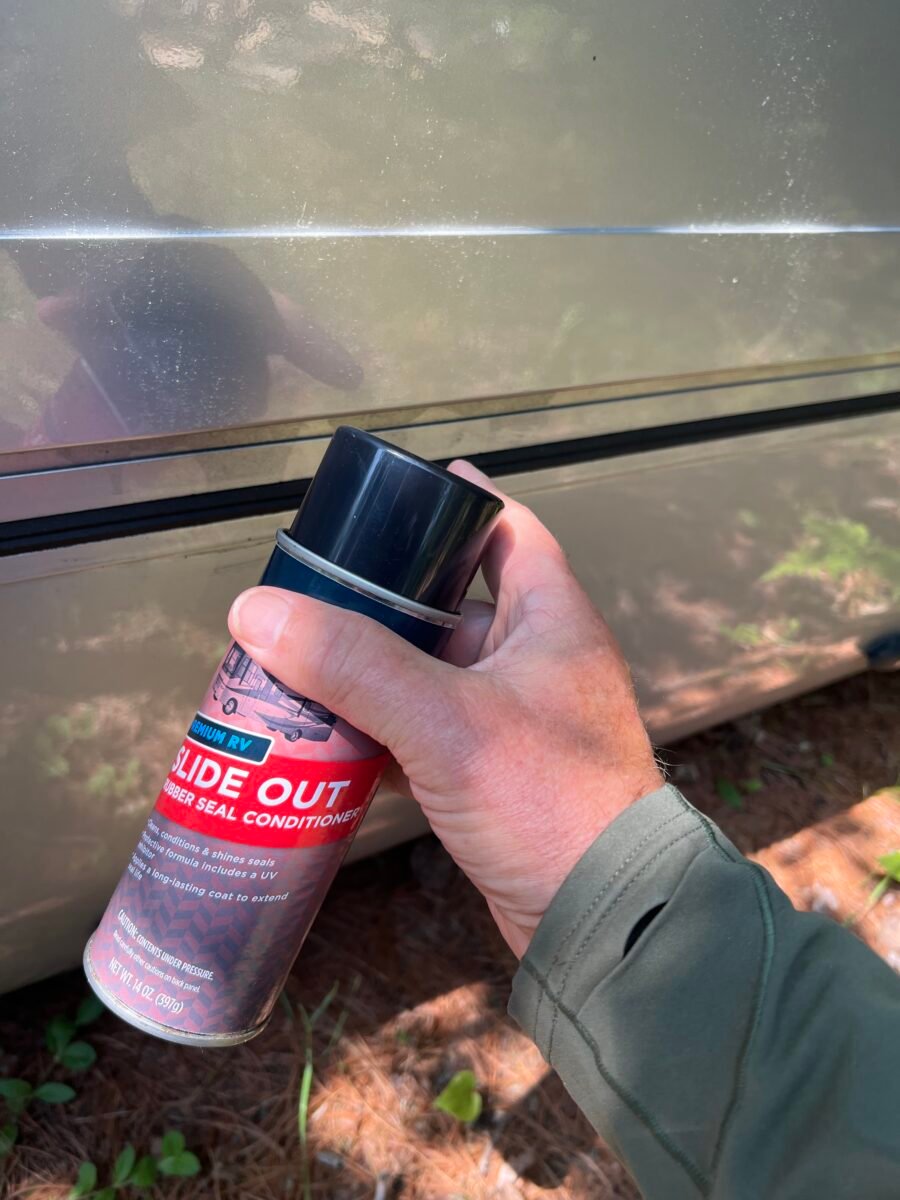
If your unit has a slide, spray all rubber seals on it, both sides, both the slide and body side, underneath, and on top. You’ll probably need a ladder for that, and a tarp to lie on to scooch under to get the bottom portion.
Then, crank out those opening portions of your windows. Treat the rubber seals there. Open the side door—ditto for those seals. If you wish, also treat the seals for the driver’s and passenger doors.
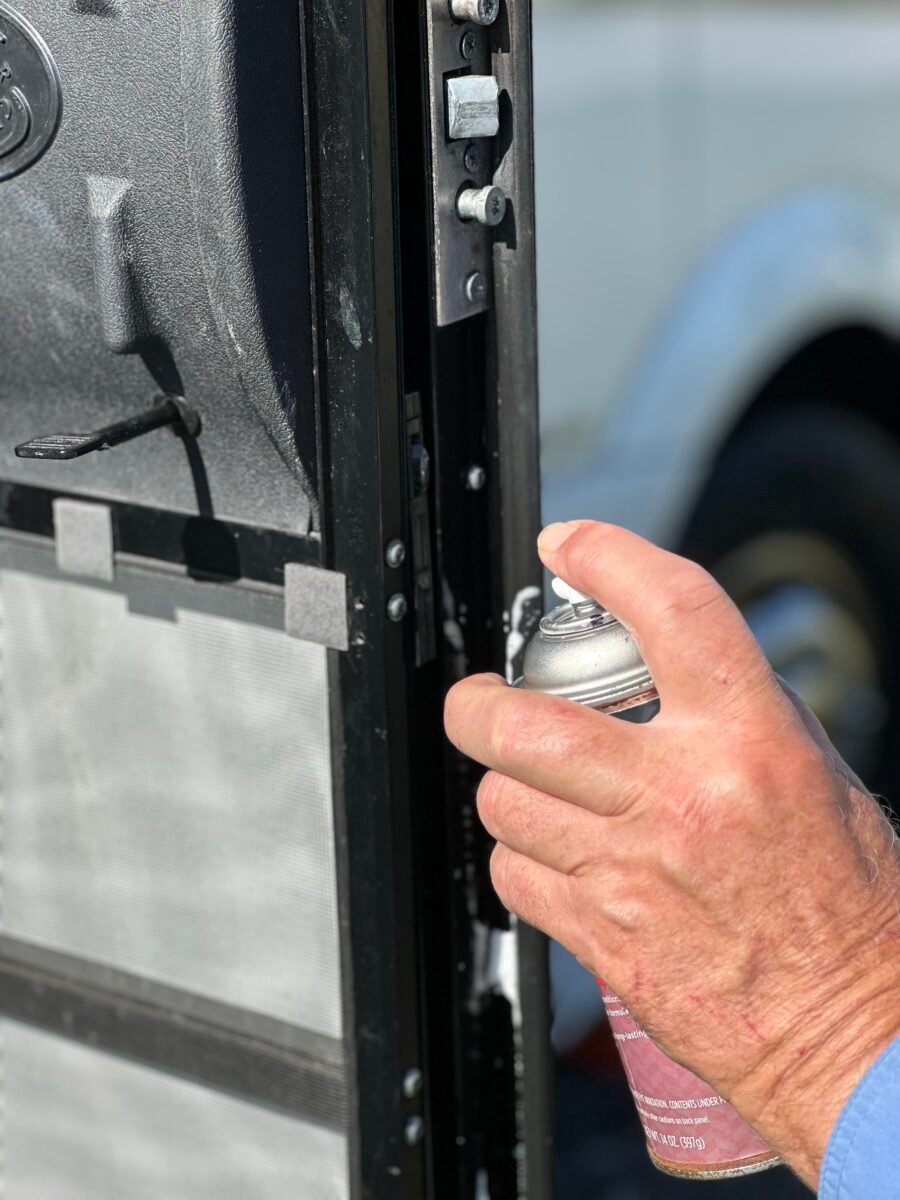
Spray, Spray, Too
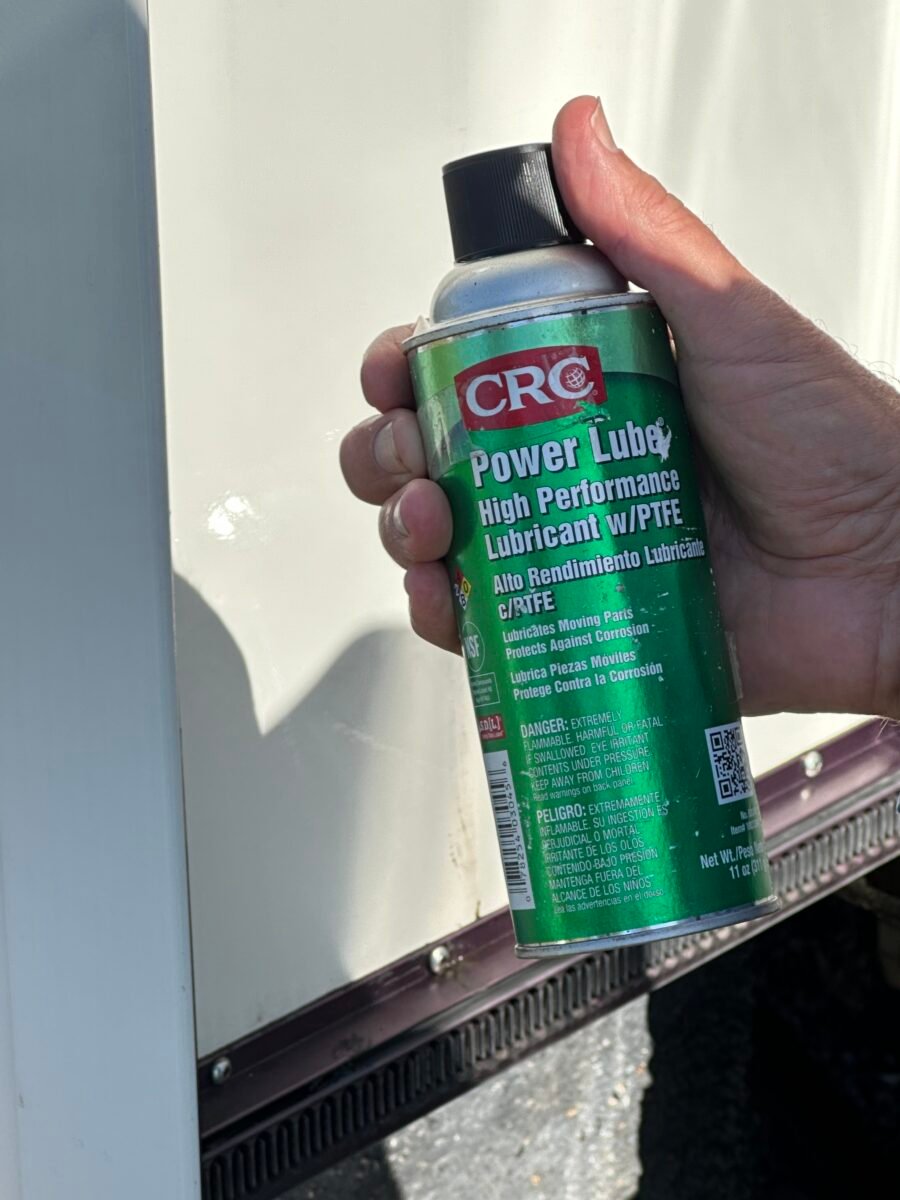
If your LTV has a slide-out like ours, you must keep the mechanisms appropriately lubricated. That does not mean spraying the entire track. It does mean spraying a particular area of each of the four slide-out tracks with the lube recommended by the maker, CRC Lubricant.
This short video from the maker of CRC Lubricant shows you where and how to do it.
Here’s an easy way to keep that slide-out seal facing the right way that I learned from another post on YouTube. Place two or three tiny cabinet door “bumpers” spaced apart on each side of the slide. The small bumps will flip out the seal to its properly deployed.
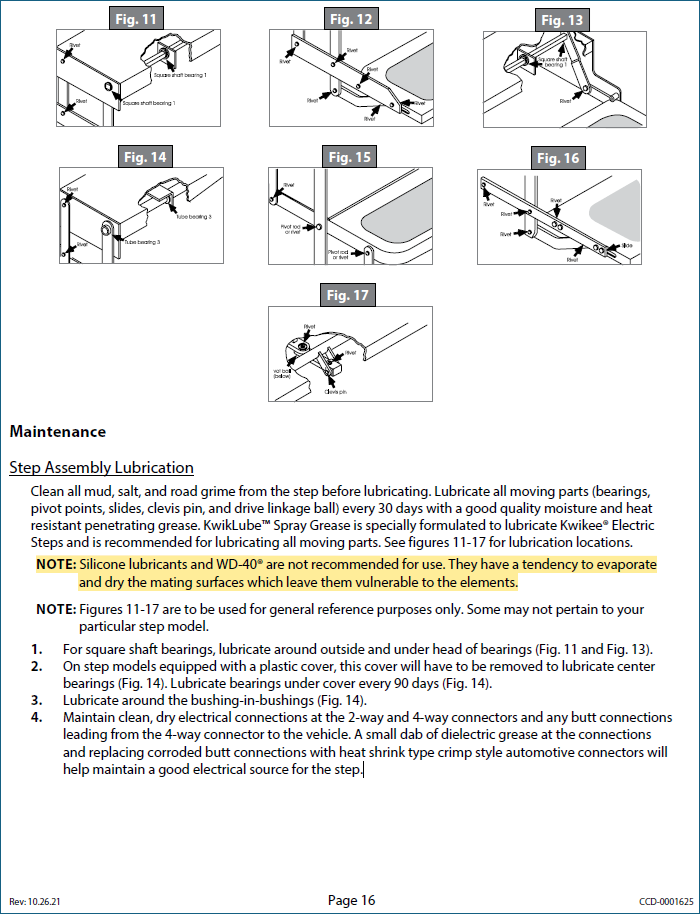
Don’t Skip the Steps
Those automatic steps that appear when you open your side entry door also need some love. Avoid using lubes with wax or oils. These will trap grit, sand, even stones, and can cause your steps to fail. Parts are readily available online; consult your manual. Scoot underneath with the step either in or out. Just be very careful, no one uses it or opens the door when you’re there. Or, simply lock it out and then get safely under. Spray all bearings where there are moving parts, including the arm from the motor that operates the mechanism. The LTV service department in Winkler and Kwikee, the maker, recommends not using dry lubricants on the steps. As per the Kwikee manual, they recommend a heavier penetrating grease like KwikLube Spray Grease. For details, check your Kwikee Step manual.
Levelers On Unity Models
If you’ve ordered or your new-to-you LTV has levelers, they also need lubrication, specifically the “worm gear” that raises and lowers each side. Use a wax or oil-based lube on the gear, and I guarantee that it will pick up all sorts of road crud that will either stop it from working or impede it, so the motors will eventually fail. Equalizer Systems recommends the use of WD-40 on the jack shafts.
Hydraulics or No?
If you’re like us, you like keeping it simple. We use “Lego-style” blocks, available at most RV stores or on Amazon, to level our Unity and now our Wonder. Stack and lock them to each other, and drive up on them. There are double-sized ones made for the rear dual wheels, too. Our blocks never leak, and our LTV doesn’t look, in my opinion, awkward. But if you want hydraulic levelers, that is certainly your choice. A big minus is the extra weight.
We’ve never, ever, ever been in a situation where we need anything else besides our plastic blocks. We hear some hydraulic systems are available for the Wonder, but ours is so low and so easy to use our leveling blocks on, we see no reason to add. But that’s us.
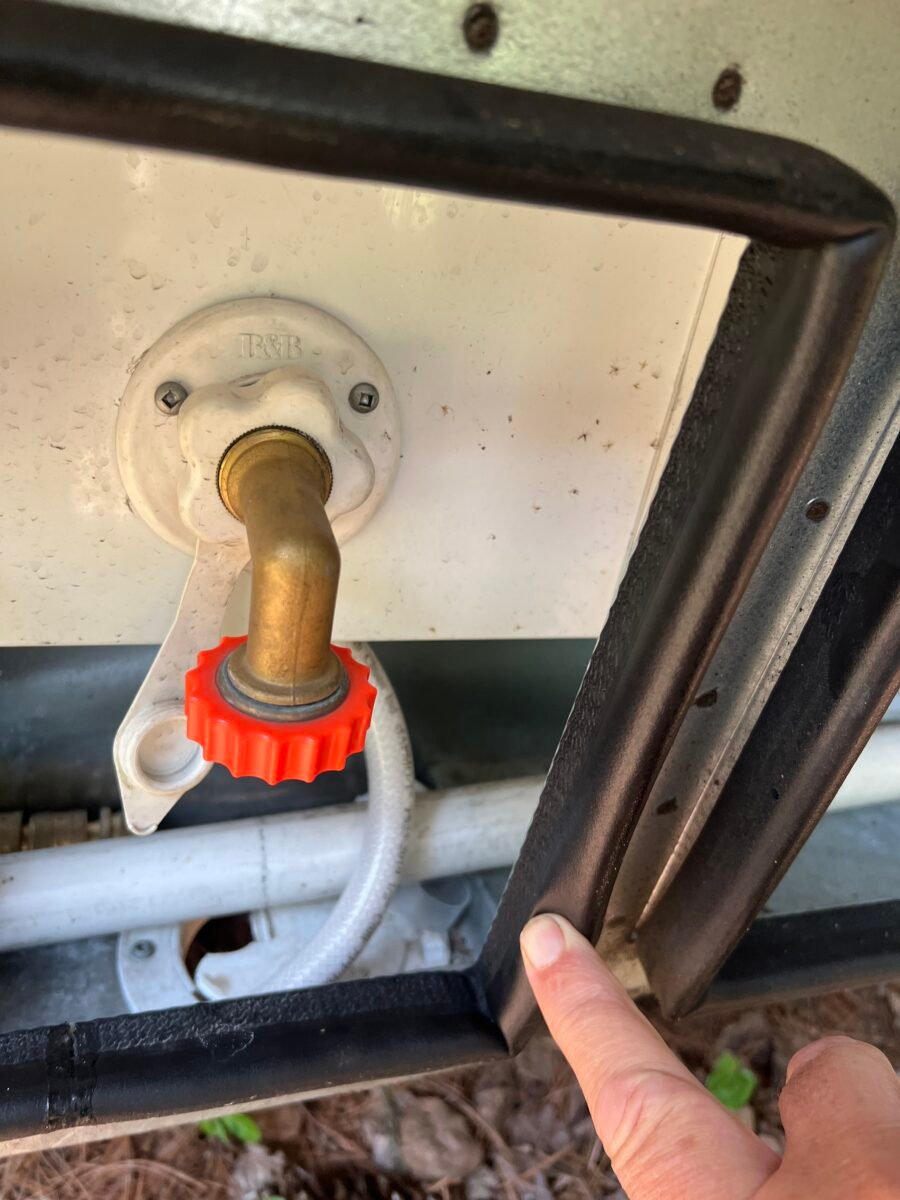
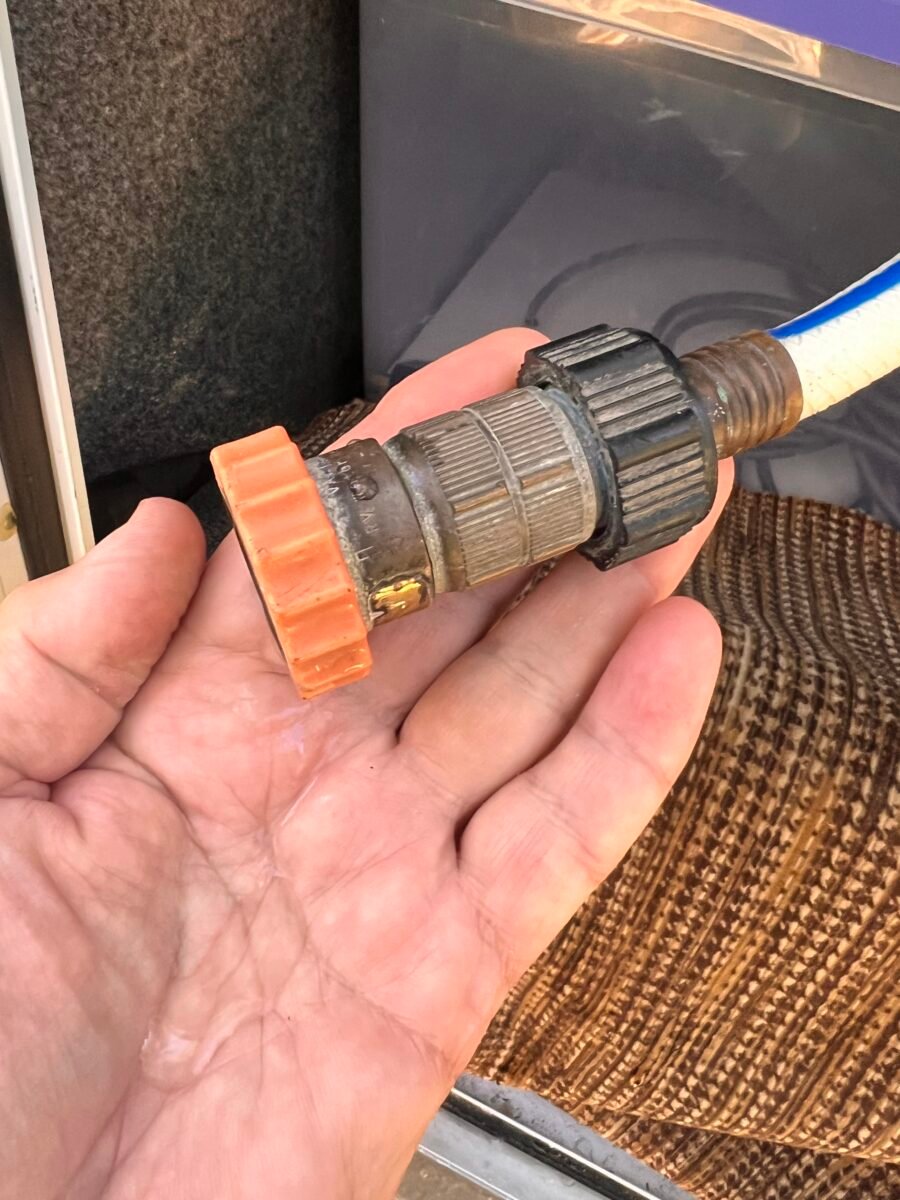
Water Pressure Reducer
This should be on everyone’s list of must-buys before you even leave the dealer. It’s a little device that screws onto your freshwater hose that reduces the water pressure at any campground. There have been horror stories of pipes and seals bursting because unbeknownst to you, the campground you just pulled into has unregulated water pressure. Many campsites now come with these provided by the operator. But you need one too. I’ve also seen some photos of freshwater systems without a 90-degree “elbow” installed, so you can simply feed your water hose through the bottom of the service bay, enabling you to close the compartment off from critters. If yours is missing, they’re inexpensive.
Solar Panels, Roof
Solar panels produce electrical power to run everything from your fridge to recharging those batteries. They are very susceptible to the slightest shade reducing that power flow. That includes dirt, leaves, and the like. Inspect, clean, and wax them regularly to keep that to a minimum. While looking at that, always inspect the roof and sealant around your skylights and elsewhere. If they appear cracked, you could be heading for a leak. Dicor Self-Leveling Sealant is what you need. Just follow the product directions. Again, I’m talking several years down the road here. If your roof appears black, that’s mildew forming. An extendable car wash wand with a good automotive soap takes care of that. Also, wash the sealed areas to extend their life.
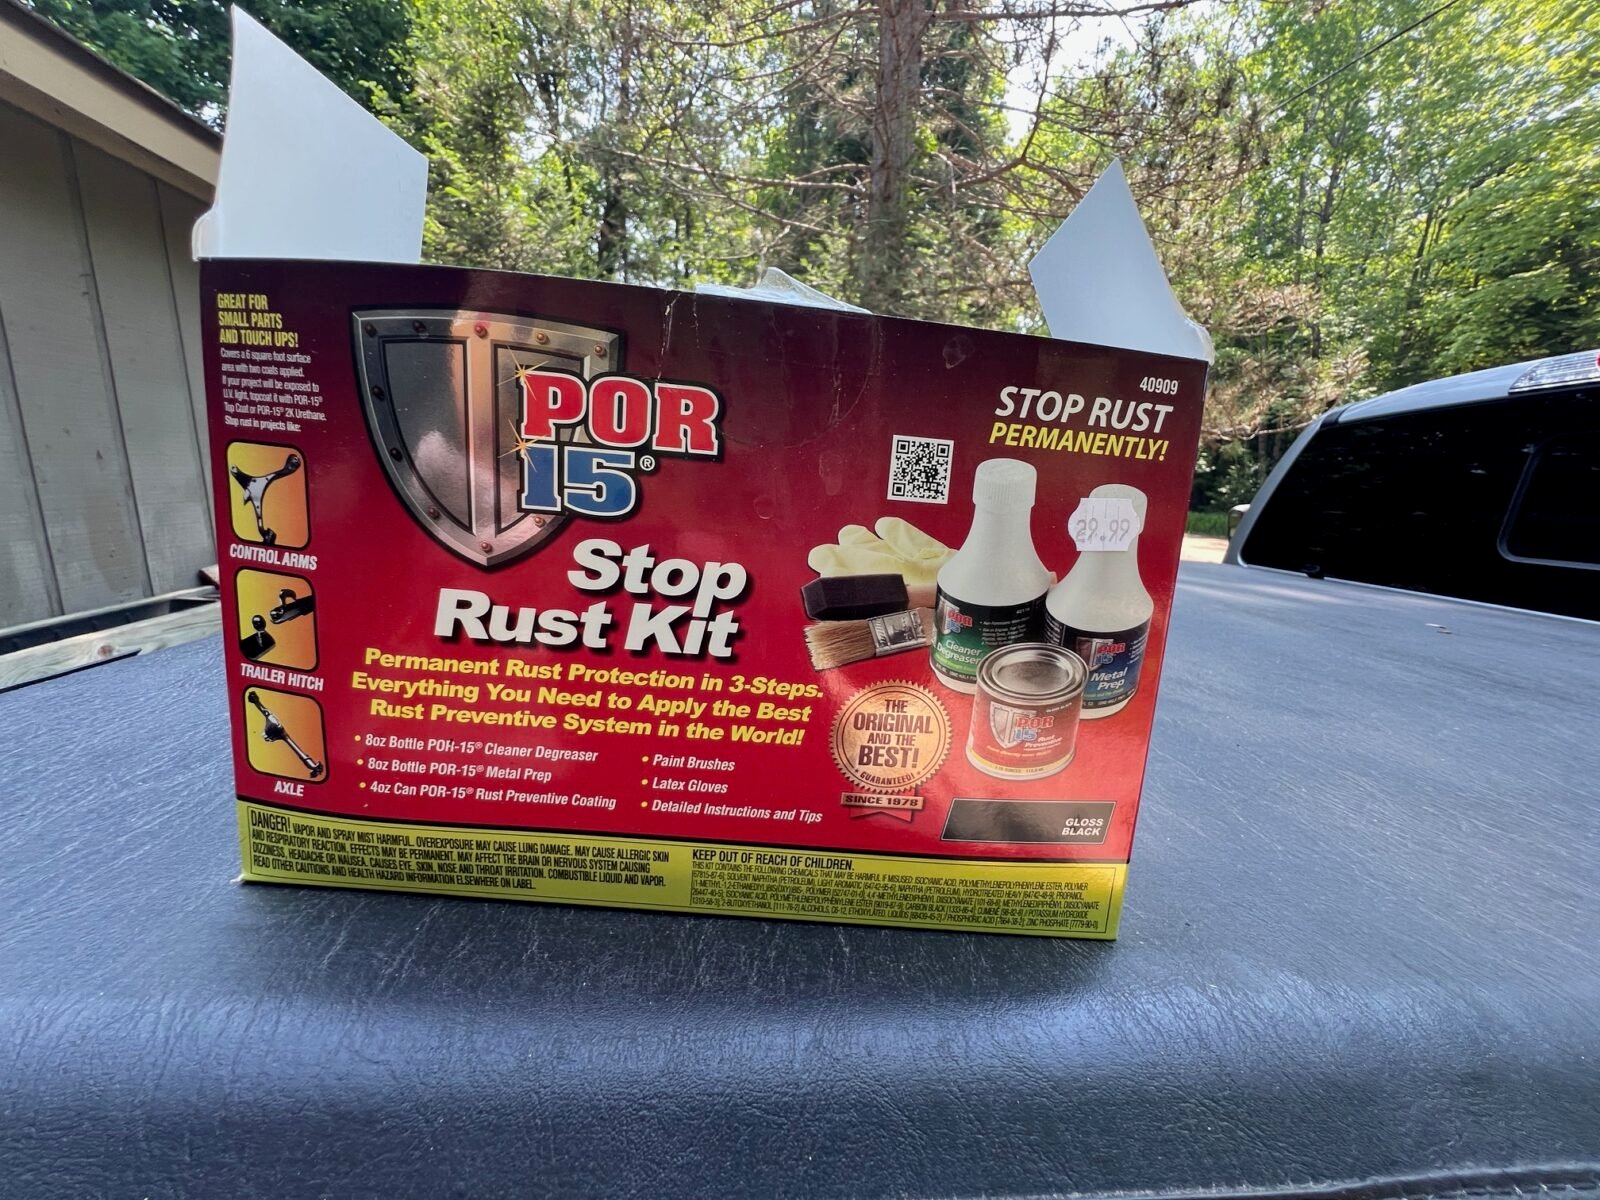
Rust Prevention
You can ensure rust stays away by also coating the inside of the service bay with a material like POR (Prevention Of Rust), an epoxy-like paint that adheres to the zinc-coated metal, providing another layer of protection. Just follow directions. You can also touch up any damage to underside areas with rubberized undercoating, available at most auto parts or auto paint stores. Consider also spraying or using POR on the generator frame.
All these products are available online. We hope you will use these steps to keep your RV looking and working like new.
Download the LTV Maintenance Checklist and view the illustrated technical companion guide to keep your Leisure Travel Van running smoothly for years to come.
This is a companion discussion topic for the original entry at https://leisurevans.com/blog/unity-and-wonder-tips-for-absolute-beginners-part-two/