FOR HANDS-ON owners, learning how to grease RV wheel bearings is something of a rite of passage. It can save you money on annual maintenance, but it also gives you an intimate understanding of your trailer’s most critical safety component.
While it is a greasy, labor-intensive job, repacking your bearings can be a DIY task with the right tools and a bit of patience. In this guide, we’ll break down the best RV wheel bearing grease to use and provide a step-by-step tutorial on this essential seasonal RV maintenance check.
Key Takeaways
- Maintenance Schedule and Specs: Manually inspect and repack wheel bearings every 12 months or 12,000 miles using NLGI No. 2 lithium complex grease with a high dropping point (at least 440°F).
- Cleaning and Inspection: Thoroughly clean bearings with brake cleaner and air-dry them—never use compressed air—while inspecting for pitting or heat damage and always replacing old seals with new ones.
- The Critical Adjustment: After repacking, seat the bearings by torquing the spindle nut to approximately 50 ft-lbs, then loosen it and re-tighten to a finger-tight position to ensure the wheel spins freely with minimal play.
What’s the Best Grease for RV Wheel Bearings?
RV wheel bearing grease for travel trailers is something that most mechanics stock in bulk. However, it is available in smaller quantities if needed. If you are cleaning and repacking RV wheel bearings yourself, don’t just grab the first tub you see. Look for these specific technical requirements:
- NLGI No. 2: This is the standard consistency for automotive and trailer bearings.
- Lithium Complex: This type of grease has excellent water resistance and heat stability.
- High Dropping Point: Look for a dropping point of at least 440°F. This prevents the grease from liquefying and leaking out at the high temperatures generated by your RV’s brakes.
Common industry-standard choices include MAG1 High-Temp Disc Brake Grease, Lucas Red ‘N’ Tacky, and Timken GR224.
Technician Tip: Never mix different types of RV wheel bearing grease (e.g., a lithium-based grease with a sodium-based grease). They can react chemically, causing the grease to thin out and fail to lubricate the bearing.
What You Need to Repack RV Wheel Bearings
Cleaning and repacking RV wheel bearings is something you can do at home, but it requires a willingness to get dirty. Few, if any, RV mechanics have cleaned and repacked bearings without winding up with a good deal of grease on their hands.
You’ll need the following tools if you decide this is a DIY maintenance task for you:
- Wheel chocks
- Heavy-duty floor jack
- Axle stands (for underneath axle(s) and/or the trailer’s tongue)
- Tire lug wrench
- Torque wrench, extension, and lug nut socket
- Smooth-faced hammer
- Seal removal tool (or similar pry tool)
- New bearing seals (Mandatory: never reuse old seals)
- Needle-nose pliers (for the cotter pin)
- Large adjustable wrench
- Brake cleaner or mineral spirits (to clean old grease)
- New cotter pins
- A bearing packer (optional, but much cleaner than the hand-packing method)
- Lint-free rags (avoid paper towels or other rags, as they will leave fibers in the rollers)
How To Grease RV Wheel Bearings
To be clear, this is a great service item to schedule with a certified RV technician at regular intervals. This is especially true if you aren’t comfortable jacking up a trailer, disconnecting the electric brakes, removing the wheel, disassembling the hub, cleaning and repacking the bearings, replacing the wheel bearing seal, and reassembling everything exactly as it came apart.
If you are, follow these steps:
Step 1: Safety and Jack Placement
Park on a level surface and chock the wheels on the opposite side of the RV. Loosen the lug nuts on the wheel you are servicing.
Never lift a trailer by the axle tube itself, as this can bend the metal and ruin your alignment. Place your heavy-duty floor jack under the frame or directly under the U-bolts where the leaf springs meet the axle.
Use the jack to lift the wheel off the ground before securing the RV with axle stands under the frame.
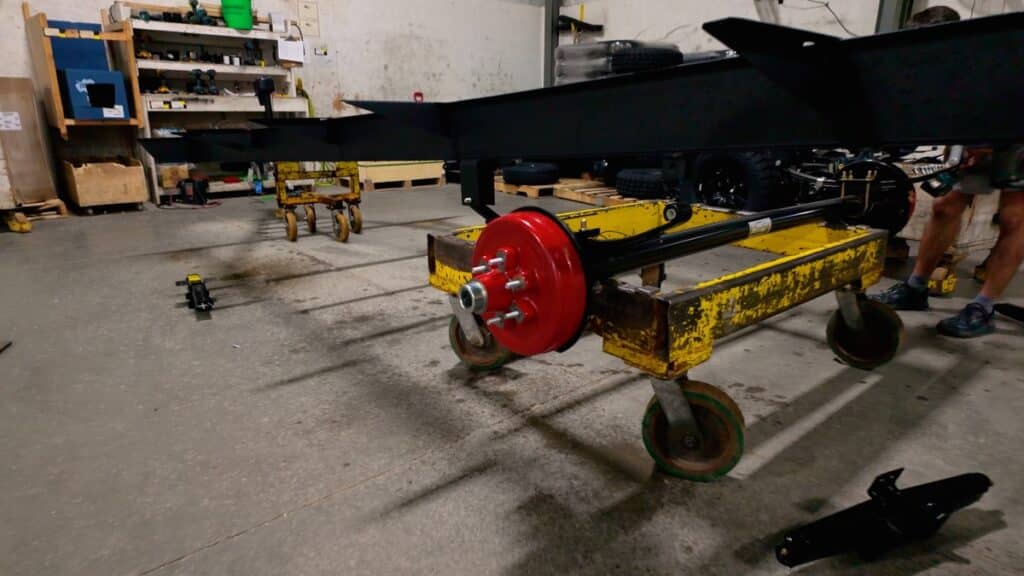
Step 2: Remove the Hub
Remove the lug nuts and the wheel. Use a flathead screwdriver or a specialized tool to pop off the dust cap. Straighten and remove the cotter pin, then unscrew the spindle nut and remove the washer. Carefully pull the hub toward you; the outer bearing should slide right out.
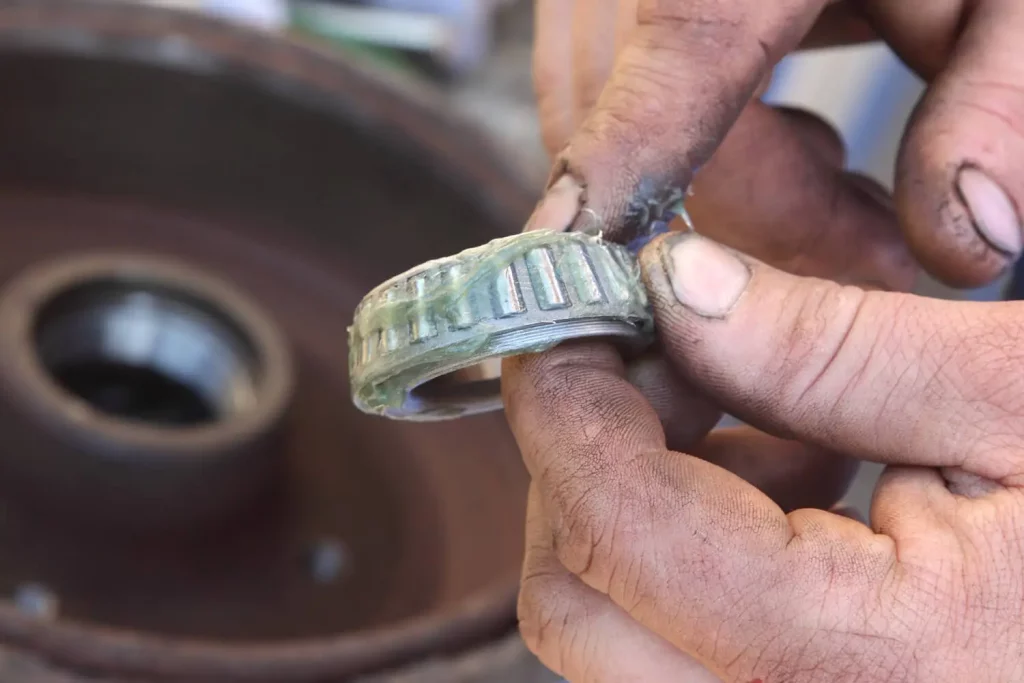
Step 3: Clean and Inspect
Pry out the inner grease seal from the back of the hub and remove the inner bearing. Use brake cleaner to remove the old grease from the bearings, the inside of the hub, and the spindle.
WARNING: Never use compressed air to spin-dry a clean bearing. This can cause the bearing to “over-spin” and explode, leading to serious injury or microscopic damage to the races. Pat the bearings dry with a lint-free rag or let them air-dry. Some also recommend using mineral spirits instead of brake cleaner, but these spirits leave behind a light oil residue that thins the bearing grease, leading to premature failure.
While disassembled, inspect the bearings for pitting, blueing (a sign of extreme heat), or scratches. If the metal looks damaged, replace the bearing and the race immediately. You should also insert your fingers through the center of the bearing and slowly rotate the outer race with your other hand. Any stiffness or roughness means the bearing is damaged and should not be reused.
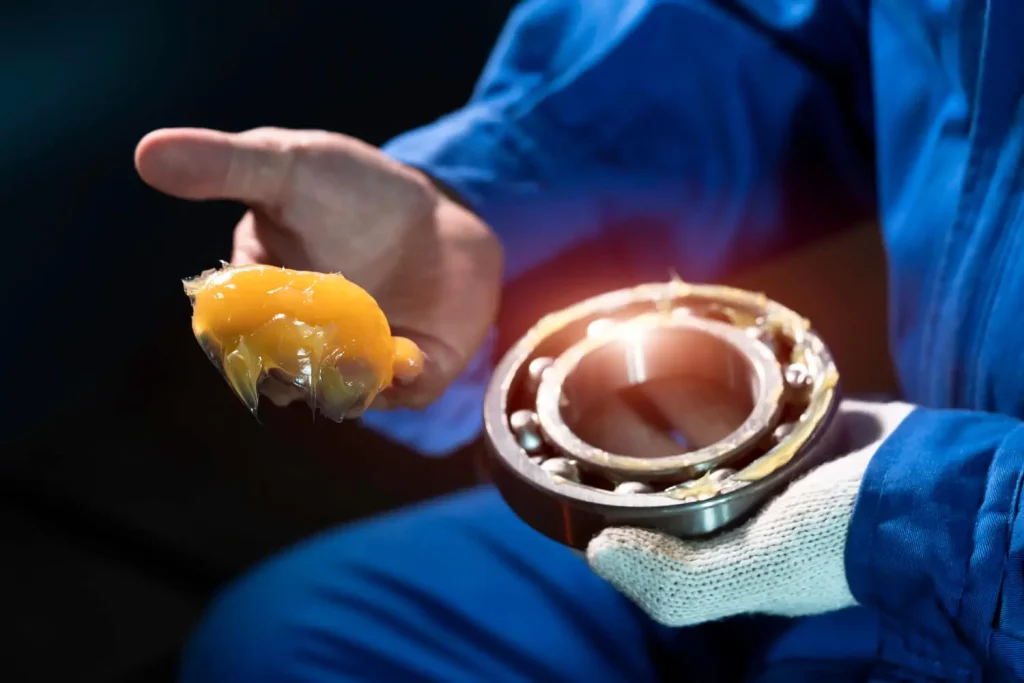
Step 4: Packing the Bearings
This is where the grease comes in. If using the hand-pack method, place a glob of grease in your palm and press it into the wide end of the bearing using a scooping motion until it squirts out the small end. Ensure the grease is packed into every crevice.
How many pumps of grease should you use? If using a grease gun with a packer, keep pumping until the old, dark grease is fully displaced and fresh, clean grease exits the top of the bearing.
Step 5: Reassembly and New Seals
Place the freshly packed inner bearing back into the hub. Tap a new grease seal into place using a wood block without dents, dings, or deformation. It should sit perfectly flush with the rim of the hub. Slide the hub back onto the spindle, insert the outer bearing, the washer, and the spindle nut.
Step 6: The Critical Adjustment
To properly seat the bearings:
- Tighten the spindle nut to approximately 50 ft-pounds (common spec for Dexter® & Lippert® components) while rotating the hub.
- Loosen the nut to remove the torque completely.
- Finger-tighten the nut until it is snug.
- Back it off just enough to align the hole for the cotter pin.
How much play is acceptable in trailer wheel bearings? There should be a very slight amount of movement (about 0.001 to 0.005 inches). If the wheel wobbles, it’s too loose; if it doesn’t spin freely, it’s too tight.
A Note on E-Z Lube® Axles
Many modern trailers come with E-Z Lube® axles, which feature a grease fitting (Zerk) on the end of the spindle. This fitting allows you to ready pump fresh grease into the bearings.
When using this system, you must slowly rotate the wheel while pumping the grease gun. This ensures the grease is distributed evenly and prevents the rear seal from “blowing out” and leaking grease onto your brakes. While this adds grease, it is not a replacement for a full inspection and manual repack, which should be done every 12 months or 12,000 miles.
The downside of these fittings is the difficulty in measuring how much bearing grease you’re adding. Too much grease can blow out the seal and leak into the brake drum. This creates a dangerous situation when trying to stop, and results in the need for brake replacement.
When to Call a Professional
While greasing bearings is a great DIY skill, it isn’t for everyone. If you aren’t comfortable jacking up a trailer, disconnecting electric brakes, or ensuring the spindle nut is torqued to the exact right “feel,” we recommend leaving it to the experts.
To save time, energy, and a substantial clean-up, have your RV wheel bearings inspected and serviced by a certified RV technician at the regular intervals recommended in your RV’s owner’s manual.
Use these additional resources to properly care for your camper:
- RV Tire Protection Essentials
- What Do RV Tires Cost?
- What Is Tire Linc TPMS?
Do you have questions about how to grease RV wheel bearings? Let us know in the comments below.
The post How To Grease RV Trailer Wheel Bearings appeared first on Camping World Blog.
This is a companion discussion topic for the original entry at https://blog.campingworld.com/learn-to-rv/how-to-grease-rv-wheel-bearings/